


I'm Mindy, all I do here is blog about circle lens reviews, make-up reviews, tutorials and other stuff.
I hope you enjoy my blog.
See you around ♡


 Instagram
Search
Follow upcoming posts

 Skinfood Black Sugar Strawberry
HERA UV Mist Cushion in #23
Aritaum Mono Eyes #Steal Away
VT Collagen Pact
Missha M Magic Cushion #23
A'Pieu Air Fit Cushion #21
Peri Pera Ink The Velvet #14
A'pieu Water Light Tint #RD03
Banila Co. CC Cream
Adaline Keep Cool Sheet Masks
Tony Moly Gel Eyeliner in brown
Jayjun Gold Snow Black Mask
Jayjun Real Water Mask
Jayjun Multi-Vita Tone Up Mask Contact

Giveaways

disclaimer
Pixel: Pixel-Diary
All reviews on this blog are 100% my own honest opinions. Photos and content on this blog are all mine unless stated otherwise. Do not use them without my permission! Keep in mind that I used precious time out of my life to work on this. Thanks! 
|
_
Hallo my lovely readers~~!!
Today I'm really, really happy to blog about my hair dye experience with the Liese Bubble Hair Color! I finally decided to try out this hair dye beause I heard so many good reviews about it! I chose the color #Jewel Pink because I really wanted to try out something new ♥ While I was in Hong Kong on my trip I found this hair dye in Watson for only 5€ (~6.50USD$) and decided to do this ( ゚▽゚)/ I wasn't sure if I should write a complete review about this hair dye or just post a before/after photo of my new hair and make it more personal with more text but decided to write a short review about it but not as detailed as usually and write alot of personal stuff in it~! ♥ I will show you a few photos of the packaging first :3    If you look at the back of the box you can see what the color should turn out on dark, medium and light hair. I have dark to medium brown hair because my roots are growing out so it should be something like the first or second color on the back hehe~ Here's everything that was in the box:    Here's the introduction and other caution steps etc..  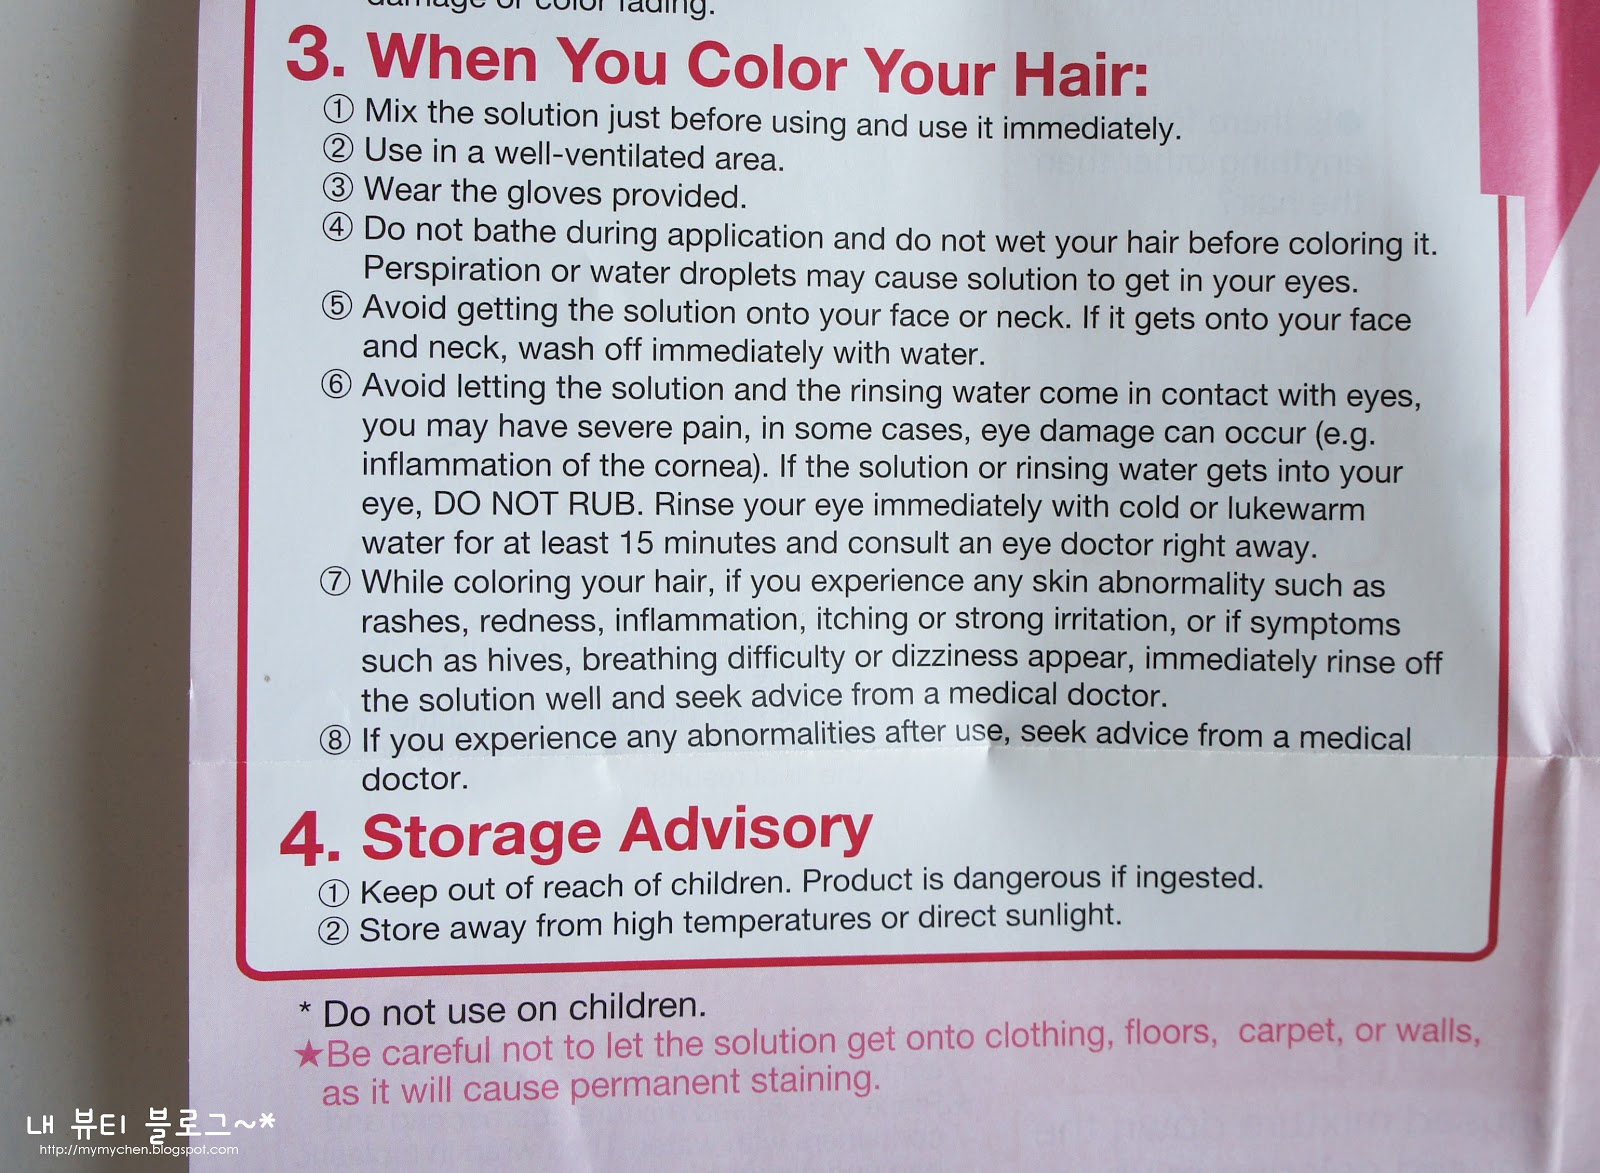   Before I dyed my hair the roots were already showing up an it looked really ugly. I always try to only re-dye them when it's getting really ugly and not bearable because I read somewhere that women who dye their hair more than 9 times a year have a 60% higher chance of getting blood cancer ㅠㅠ This scares me so much omg.. so please don't dye your hair that often too ~~!! D: Here's a before photo of my hair before I dyed it with the Liese Bubble Hair Color. You can see my ugly hair roots showing up in black (._.)  Sorry for the really greasy hair, I read that you shouldn't wash your hair 12 hours before dyeing it and I just read that in the morning when I was planning to dye it (;_・) First, you need to mix the two solutions~  
You really aren't suppose to shake the bottle to mix the two solutions because the foam will form in the bottle and you won't be able to get it out with the dispenser \(--)/
 When applying the foam onto your hair, the best way to do it is to part your hair in two sections at the back and apply it to the back of your head first! That's what they said in the introduction so I just said what they wrote there :3 When I was finished with applying it evenly and massaging it into my hair, it looked like this:  You need to let it set into your hair for 20~30 minutes depending on how hard your hair is to dye. I let it sit there for 30 minutes because I was scared it would turn out dark or my roots wouldn't be dyed probably >.< The smell of this dye was horrible though, you really have to let your bathroom door open or your will suffocate lol After 20~30 minutes you need to shampoo it 2 times and use the rinse-off treatment in the Liese Bubble Hair Color box! The rinse-off treatment smells really nice, like peaches or something like that ♥♥♥ Totally love it O(≧∇≦)O ♥
Here is the after result on my hair:
  I think my new hair color looks really nice and it turned out ALOT lighter than when I use hair dyes in Europe! The end color is medium brown with reddish undertone~ I think my black hair at the roots got lighter in 2-3 shades, it's really amazing ! My roots aren't visible anymore but the end result isn't totally even but it's okay in my opinion :3 My hair color wasn't even at the beginning to start with ㅠㅠ Here's a before/ after comparison photo so you don't have to scroll up to see it lol  About the damage, I think my hair is abit damaged after dyeing it but it's okay as long as you take care with hair masks etc after your dyed it ! I also bought a new hair mask from the brand KAO in Hong Kong, too. Has anyone ever tried or heard of the Essential Airy Nuance Hair Mask? I saw Bubzbeauty raving about this hair mask so I was like why not, it was only 4€ (5.25USD$) there anyways :D So, you might have noticed that I was all excited while typing this post hehe >.< ♥ I'm super satisfied with the end color and I'm probably going to try out more Liese Bubble Hair Dyes in the future! I'm just kinda worried what my hair will look like when the hair color fades out after a few months :O If I don't forget to I will update it with an 'after a month' photo~ **UPDATE AFTER 1 MONTH** I feel like my hair is damaged by alot. Honestly I'm not sure if its because I often dye my hair or if it's because of this particular hair dye from Liese... But I noticed more split ends on my hair and it kind of feels dry on the second day when I don't use any hair mask or conditioner after washing my hair! I was planning to cut my hair short when it gets worse over winter time and let it grow out back to black hehe. I still have another Liese hair dye left so I will probably try that one next summer when I have my black virgin hair back and let you guys know if it was the hair dye or just my overly dyed hair lol. About the colour, I think its still about the same color! The red undertone disappeared and yup that was it. No dramatic changes over the time~!
_____________
So this was it for today! It's actually 12pm as I'm typing this post hahah >.< ♥
Good night everyone~!
Thanks for reading this post ♥
Please leave a comment below and follow me~! ♥

Leave me your blog link below, I will check out your blog ♪(ノ´∀`*)ノ
Labels: beauty, hair, hair color, liese bubble hair dye, personal, review _
ヾ(^∇^) Helloo Everyone~!
Today I will show you a really simple and short hair tutorial on How to make Cat/Bear Ears! It's super cute and adorable and I really like doing this hairstyle for taking cute photos (cam-whoring) haha ♥
All you will need are bobbi pins!
Let's Start~! ( ´∀`)

STEP 1: Part you hair and grab a tiny piece of hair ( it will be your ear )

STEP 2: Braid it all the way down (even if you won't need the whole part it's better to braid it all down)

STEP 3: Secure it with a bobbi pin on your head

STEP 4: Push your Cat/Bear ear in the right place/form. Do the same thing with the other side
STEP 5: Enjoy your kawaiiness~!
I think this hairstyle is really nice if you don't have these super cute cat ear hairbands. It's a nice alternative and you can save 5 bucks
I'm not going to camwhore (annoy you with my selcas) in this post LOL
This post was so freakin short because this hairstyle is sooo simple. I would love to see photos of you doing this hairstyle you can send them to me through my email. I will be happy to see all of them~
Please leave a comment below about what you would like me to blog about! ♡
BUT anyways thanks for reading my tutorial~♥
/throws hearts at you

DO NOT USE THESE PICTURES WITHOUT MY PERMISSION OR I WILL STAB UR EYES.
Labels: bear ears, beauty, cat ear hair tutorial, cat ears, cute cat ear hair tutorial, cute cat ears, cute hairstyles, cute teddy ear hair tutorial, hair, hair tutorial, hairstyle tutorial, kawaii hairstyles, mymychen |
